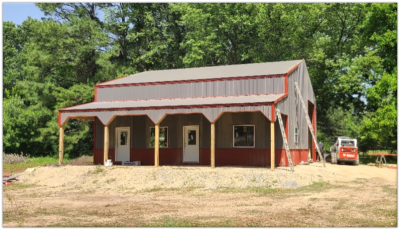
Our barn is almost finished and everyone loves how it looks except our oldest. Ainsley has been very vocal (shocker) about the fact that she thinks the entire barn should be red, but the people who pay for things (her parents) wanted it to blend in a little more with the house. I suspect she will get over it. (haha)
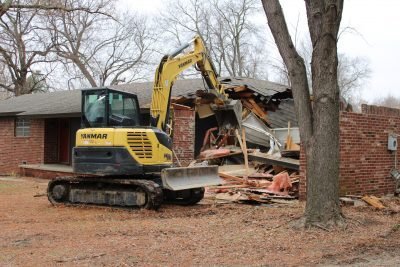
It’s crazy how pole barns are built rather backwards. It seems logical (to me) that in the very beginning the concrete would get poured (as with most construction) but that is not the case with pole barns. First the very tall 6x 6″ square structural beams/poles are placed into the large holes that the girls were standing in last week. Sometimes those holes are filled with concrete, sometimes they aren’t (ours were). Next, the exterior of the barn is framed with 2x4s, then the siding is placed on the exterior.
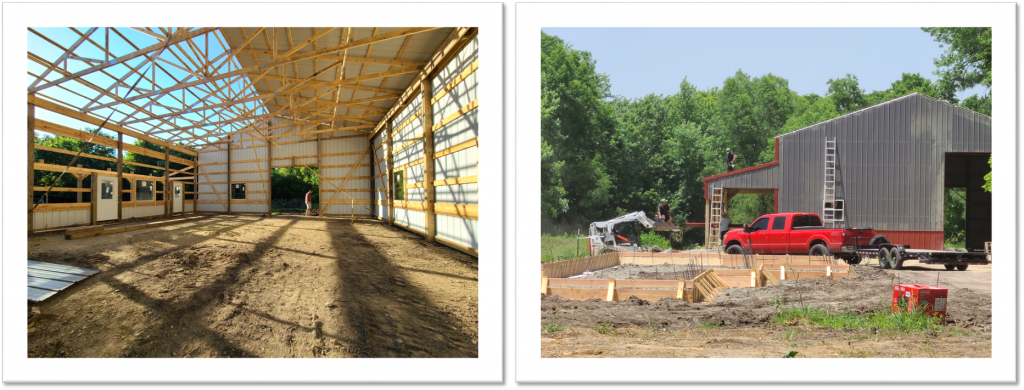
Fun Fact: If the temperature happens to be in the upper 90s, when your barn is being built the metal siding gets hot – very hot apparently. So hot, in fact, that it slows down construction because the workers are unable to touch it. The crew had to leave early on a few days because it was too hot for them to touch the sheet metal!
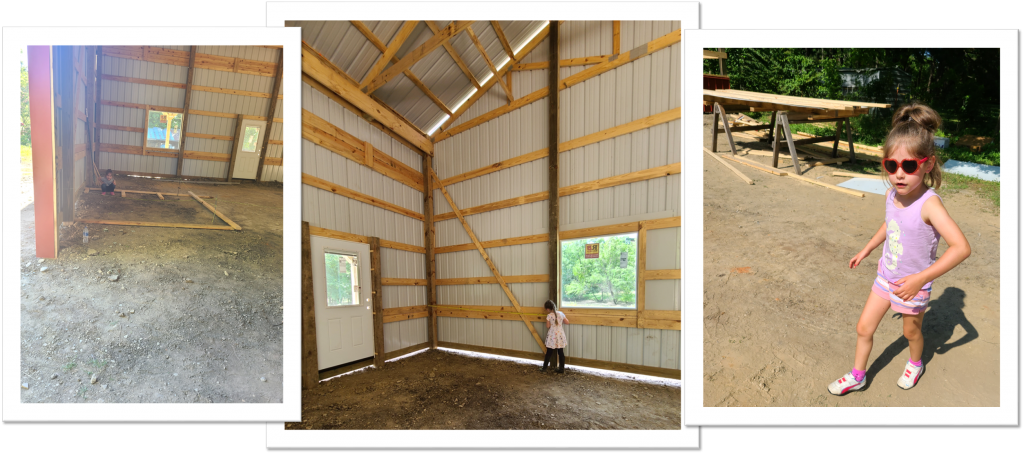
The exterior of the barn is mostly finished, but the cupola still needs to be installed. It’s been super dry here and the roof of the barn is covered in a thin later of dust. Apparently dust on a metal roof is slippery and isn’t the safest thing to climb around on, so they are hoping some dust will blow off in a day or two and then they will install the cupola. The cupola is much larger in person than I expected!

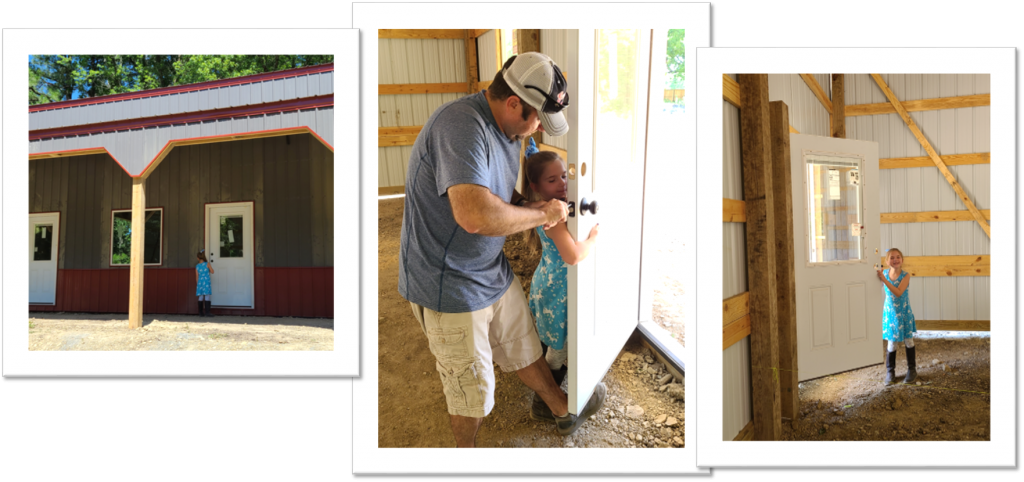
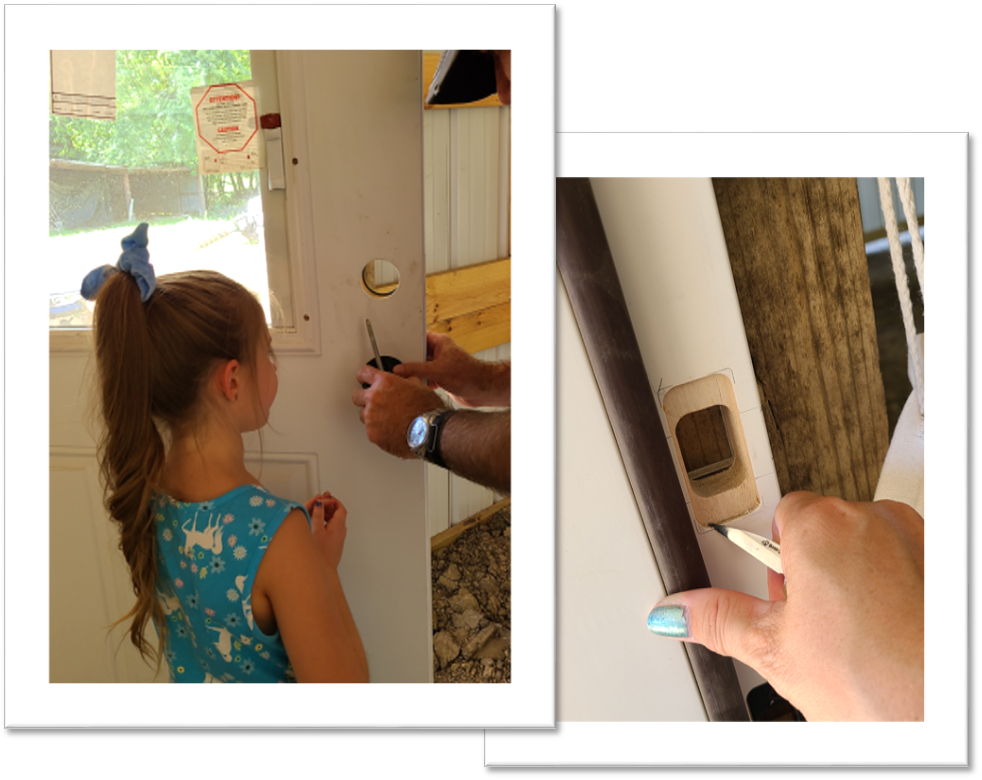
I love this picture of Ainsley watching her daddy install the doorknobs. She was eager to help when he had something she could do. I’m so happy she gets to see all of this being built and gets to help out! The catch plate for the doorknobs we ordered had square corners and the door frames were cut with rounded corners, so I had to make use of my wood carving skills to make a minor adjustment so we could install the catch plates and the doors would close properly.
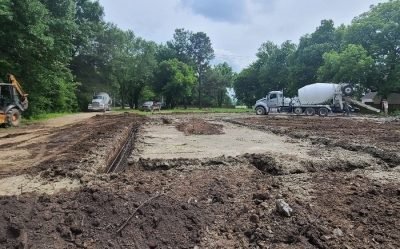
After the exterior of the pole barn is completed, plumbing is roughed in, some crushed up rock is spread around and the rebar is placed in a grid pattern on top of the crushed rock. Then the concrete trucks are summoned to pour the floor.
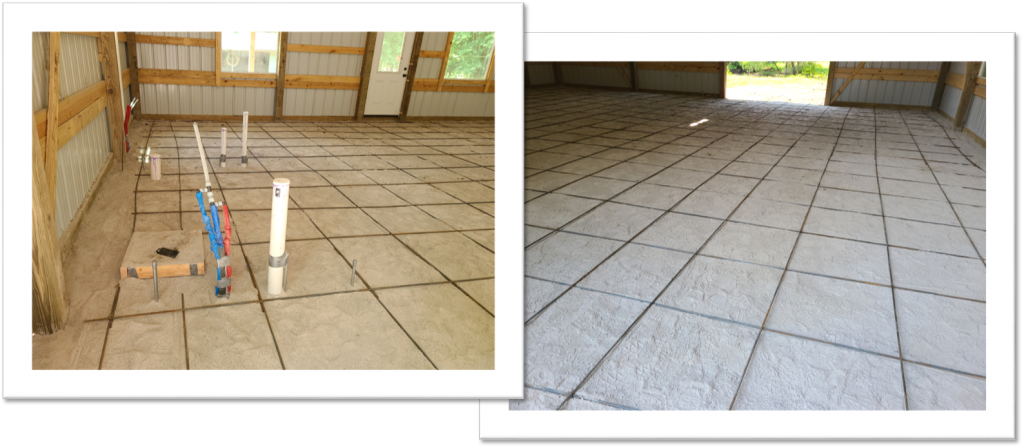
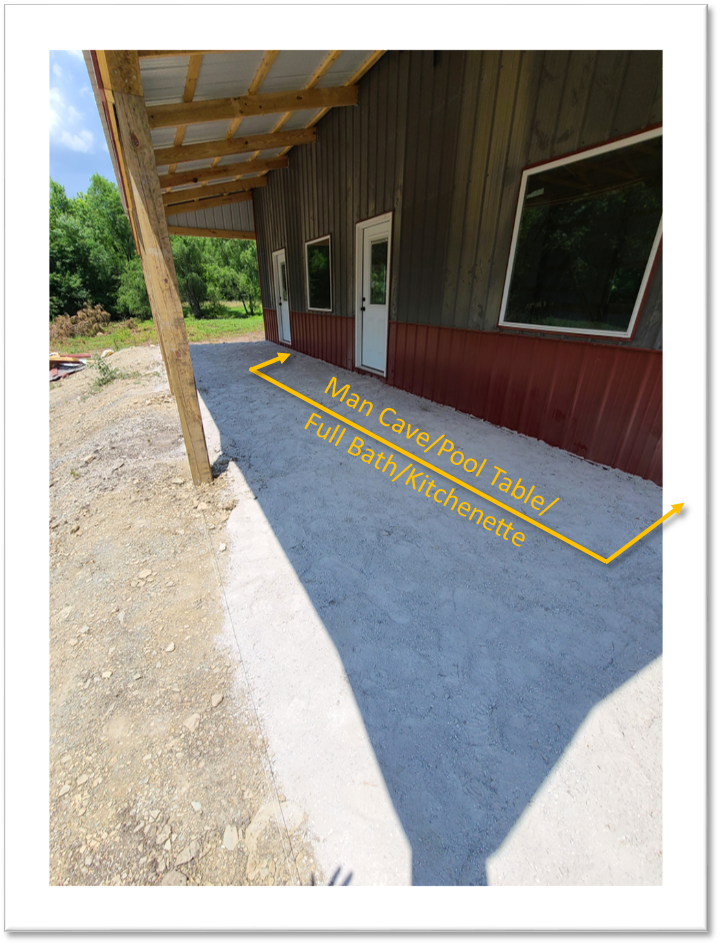
The garage doors for the barn can’t be installed until after the concrete floor is poured. The barn also still needs the living area framed, the electrical wiring installed, the plumbing completed, and the insulation sprayed in. Then we’ll work on the shower, closet, and kitchenette areas.
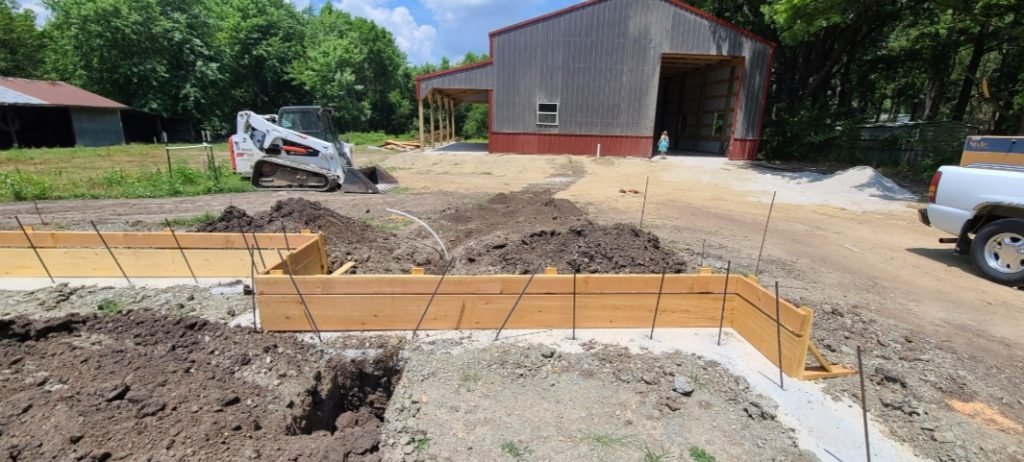
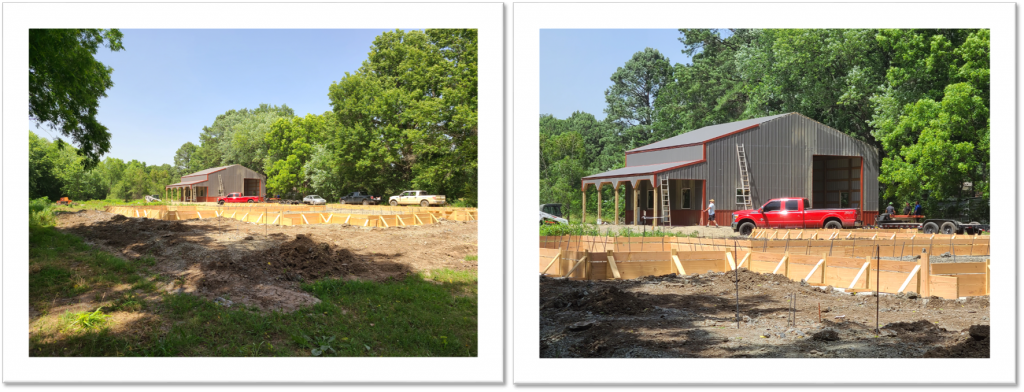
As for progress on the house, the forms have been made for the concrete slab to be poured and the plumbing has be roughed in.
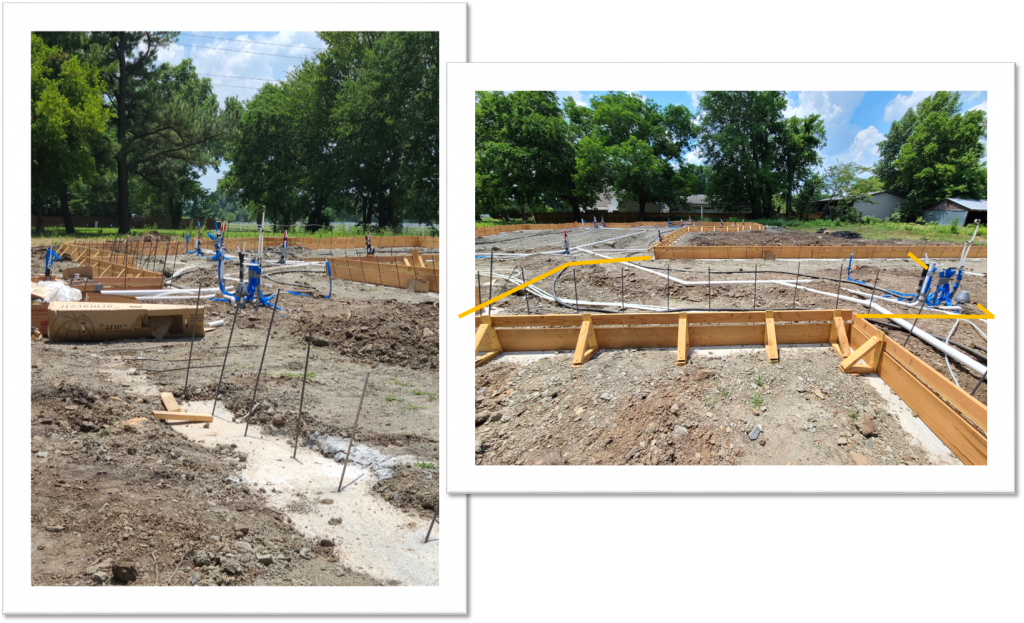
If all goes as planned, the barn floor and the house foundation will both get poured this week!